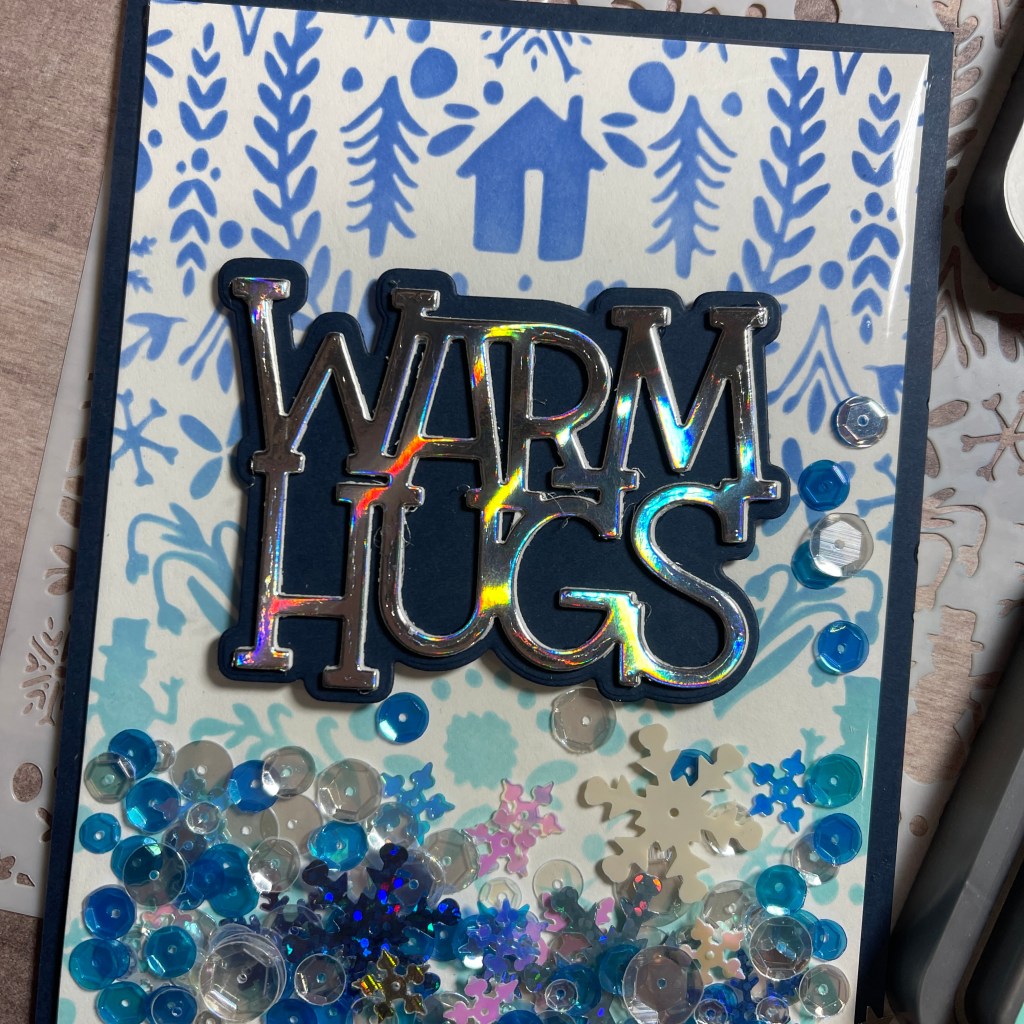
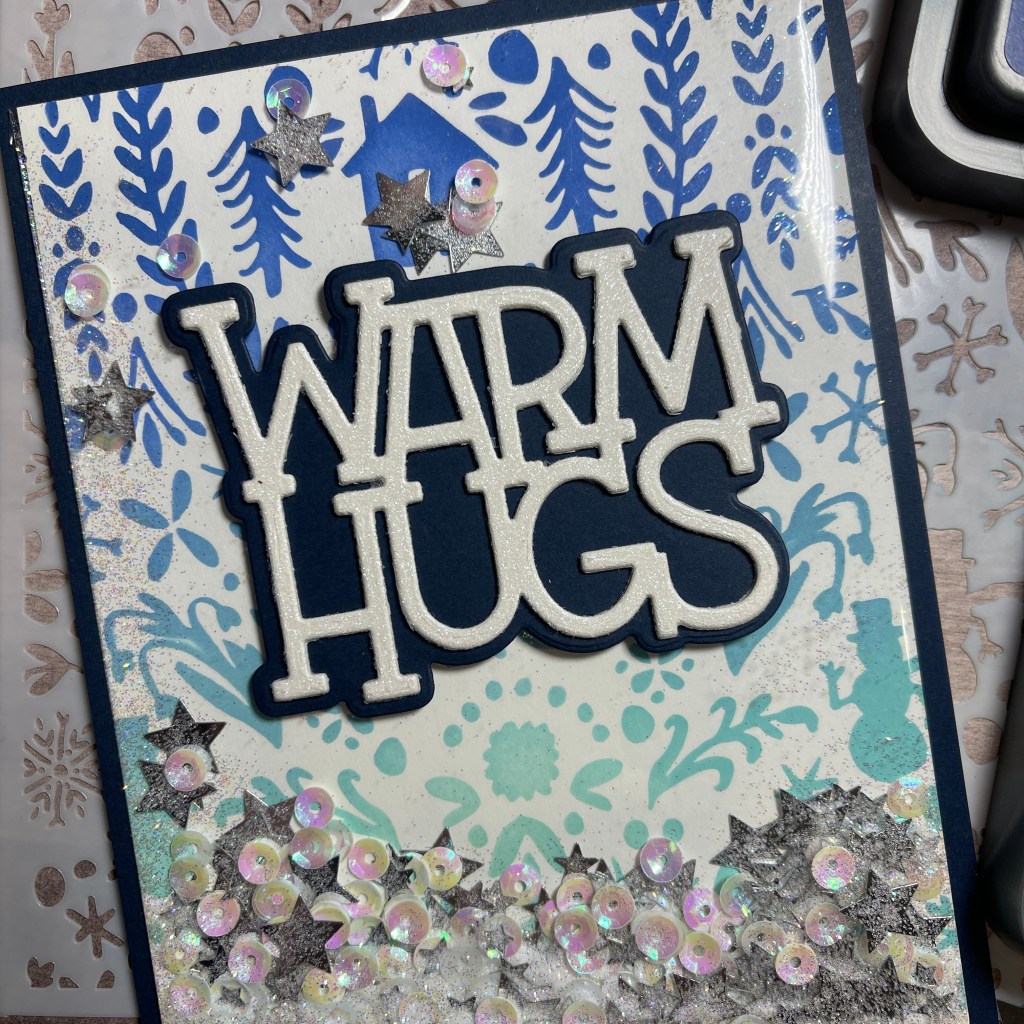
Hello my fellow creators. Today I decided to try my hand at making a flat shaker card. I used a stencil by Carta Bella and my two newest Distress Oxide Inks (Prize Ribbon and Salvaged Patina). I had so much fun making these cards, which allowed me to use of some of my abundance of sequins. I hope you enjoy this week’s video.
Visit my YouTube Channel to see how I made these cards and while you are there, maybe even subscribe. Thanks for spending some of your time with me. As always, have a beautiful, safe and creative day!!
Please Subscribe to one of my social media accounts to see my latest creations (Instagram, Facebook, YouTube)!
Hello my fellow creators. This week I was inspired to use the Honey Bee Stamps “Shine On” stamp set. My inspiration came from the wonderful and new to me manicure set by Olive & June. I finally decided that I needed to pamper myself a bit so I splurged and am loving the kit. I pulled out a new set of FineTec Pearlescent Water Colors that I bought as a birthday gift to myself (last December). It was fun using these watercolors, but I have a long way to go on perfecting my technique. I hope you enjoy this week’s video.
Visit my YouTube Channel to see how I made these cards and while you are there, maybe even subscribe. Thanks for spending some of your time with me. As always, have a beautiful, safe and creative day!!
Please Subscribe to one of my social media accounts to see my latest creations (Instagram, Facebook, YouTube)!
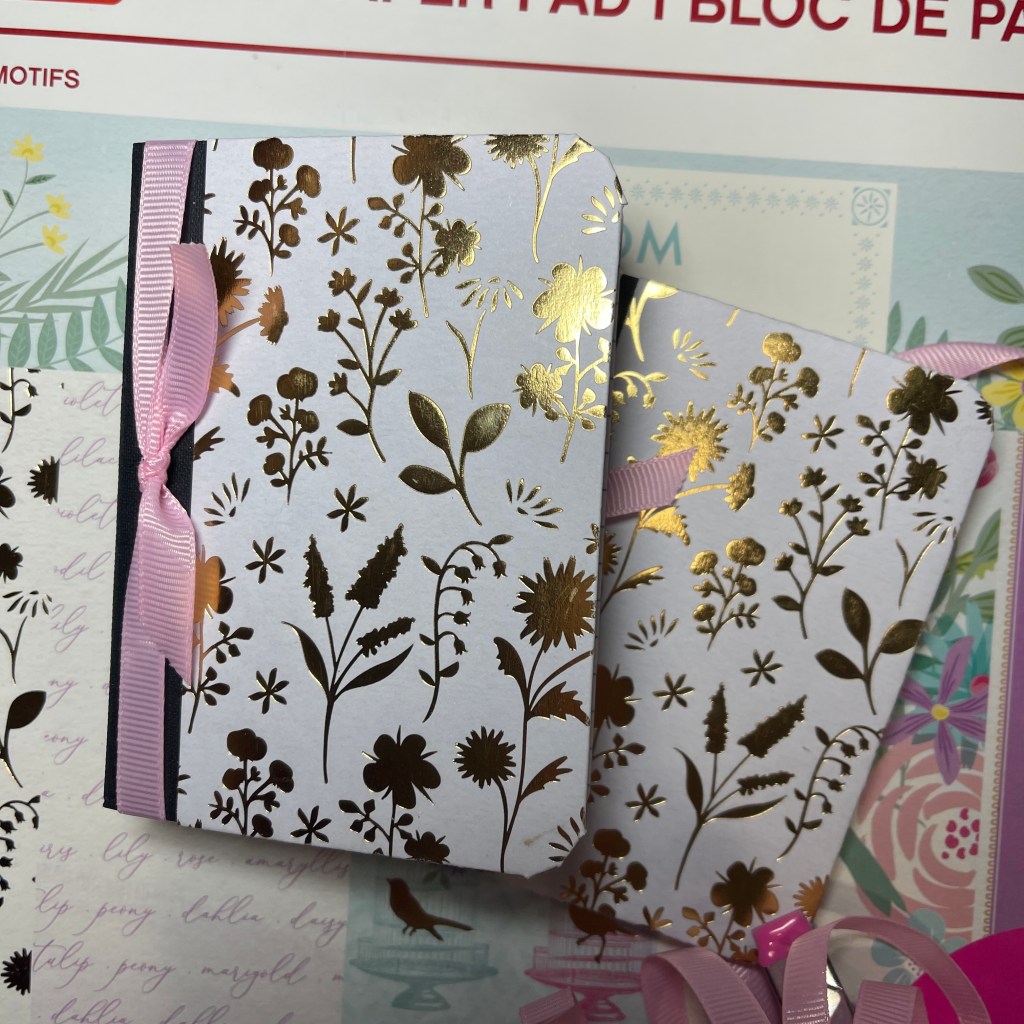
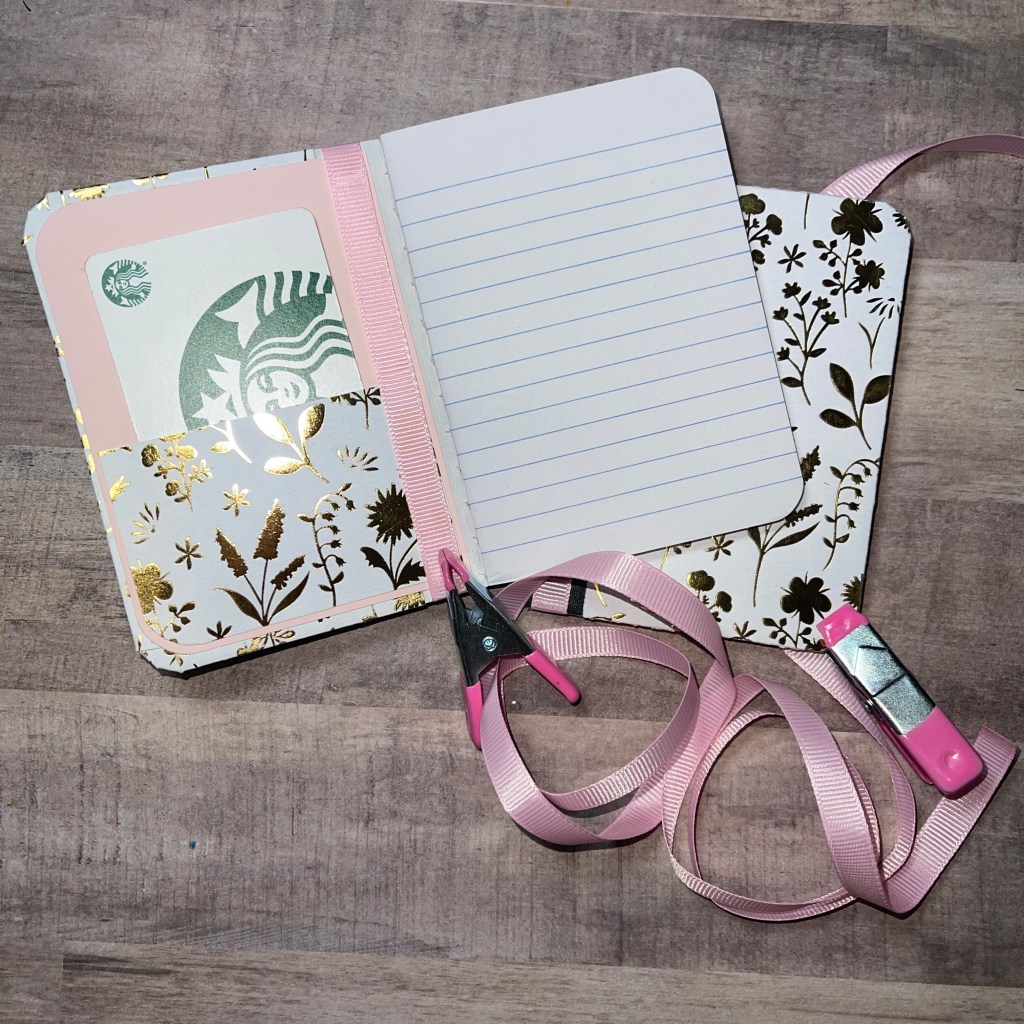
Hello my fellow creators. I decided to do something a bit different for this week’s video. I am planning a party and thought an altered mini composition book would be a nice party favor.
The mini composition books I used came in a pack of three from the Dollar Tree. I chose to use the “In Bloom” paper pad by Recollections. I cut the patterned paper at 3″ x 5″ for the front and back covers. I then rounded the corners (being careful of the directional paper). I used score tape to attach the patterned paper to the front and back covers, aligning the edge of the paper to the black spine binding. I then cut the overlapping paper at the corners. Once this was done, I folded the corners and edges in to the inside cover, attaching with liquid glue. I used some mini clips (also from the Dollar Tree) to hold the corners down while the glue dried. Once the outer covers were attached, I moved to the inside covers. I cut the inside covers from pink card stock at 4.25″ x 3″, rounding the corners as well. I then attached them to the inside cover, being careful not to get to close to the inside edge. Using the scrap piece of patterned paper (3″x2″) I rounded one corner and attached it to the front inside cover, creating a pocket for a gift card. I then added some ribbon just to give it the finishing touch. I think these will make cute party favors and am off to make another two dozen 🙂
Visit my YouTube Channelto see how I made these cards and while you are there, maybe even subscribe. Thanks for spending some of your time with me. As always, have a beautiful, safe and creative day!!
Please Subscribe to one of my social media accounts to see my latest creations (Instagram, Facebook, YouTube)!
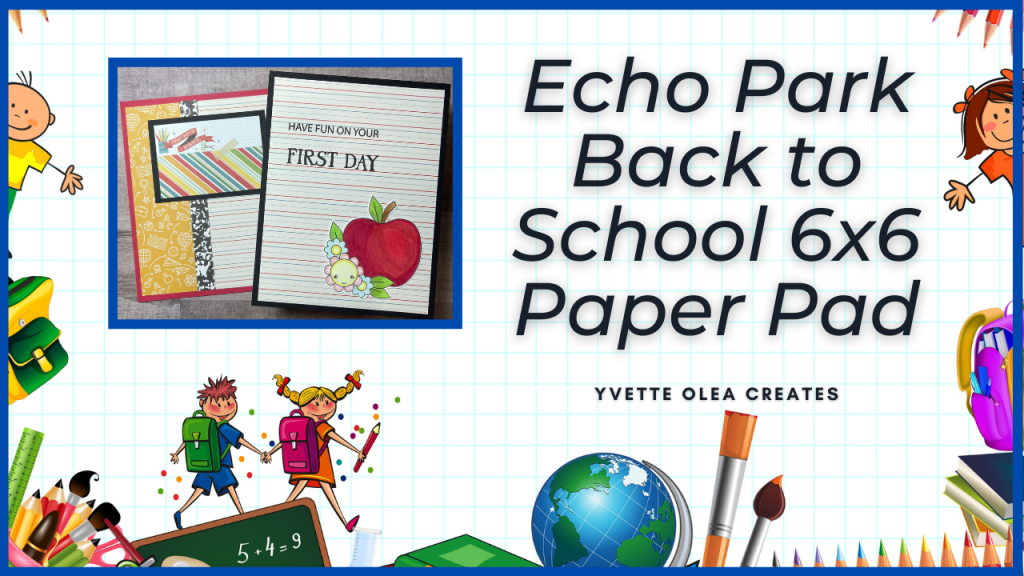
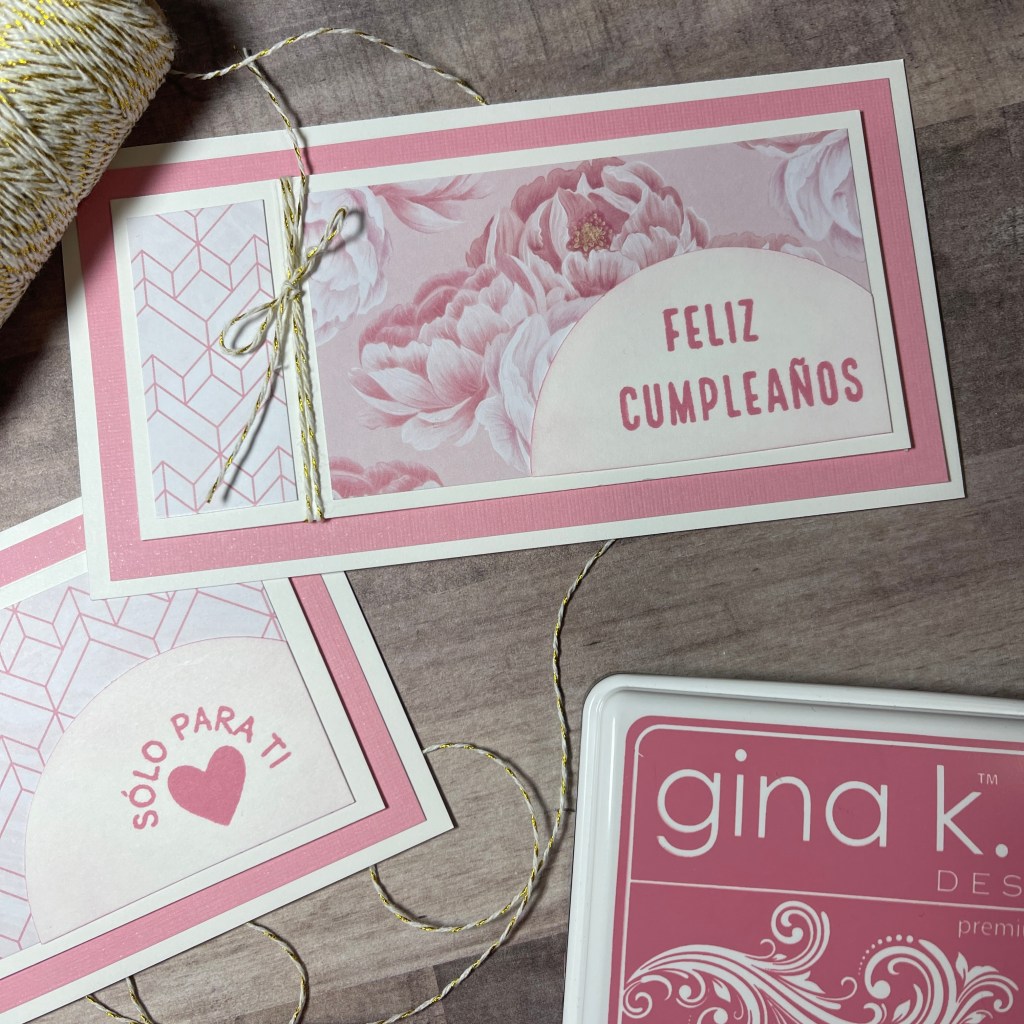
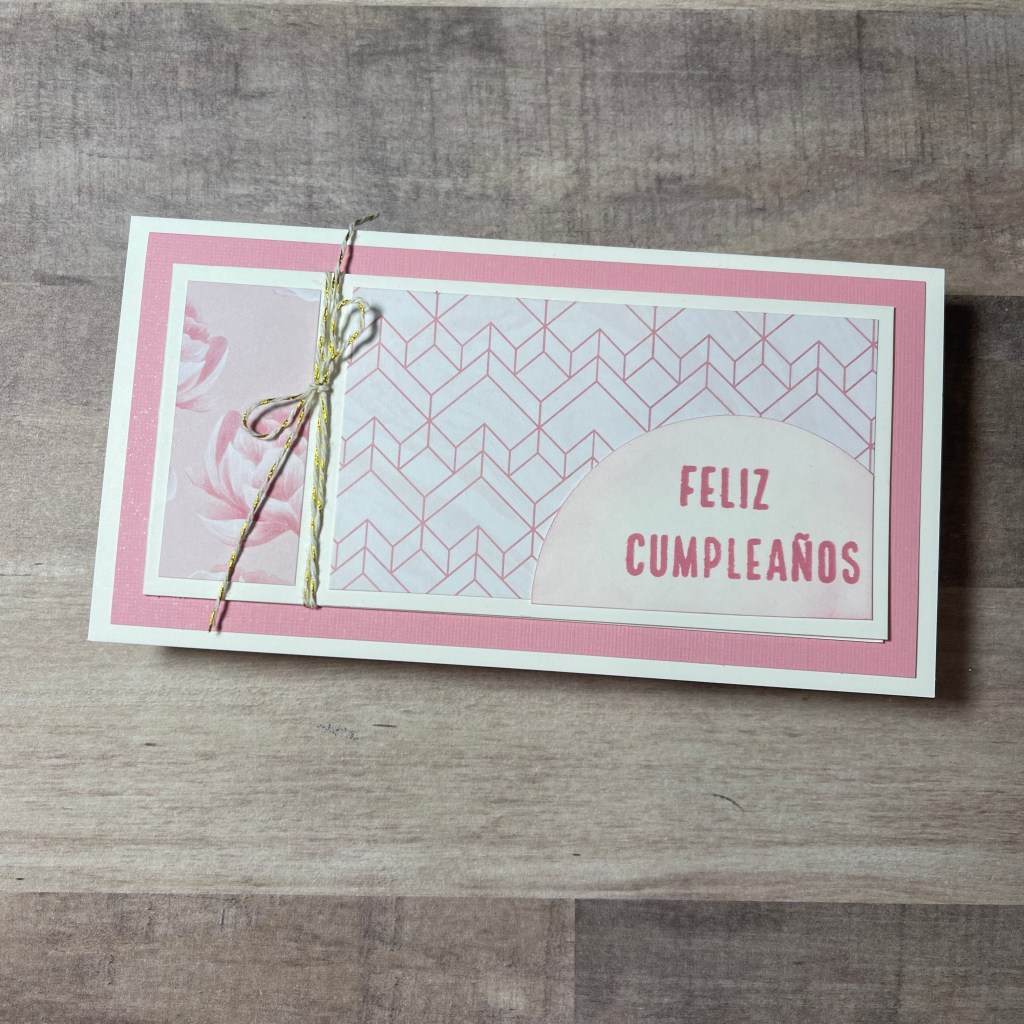
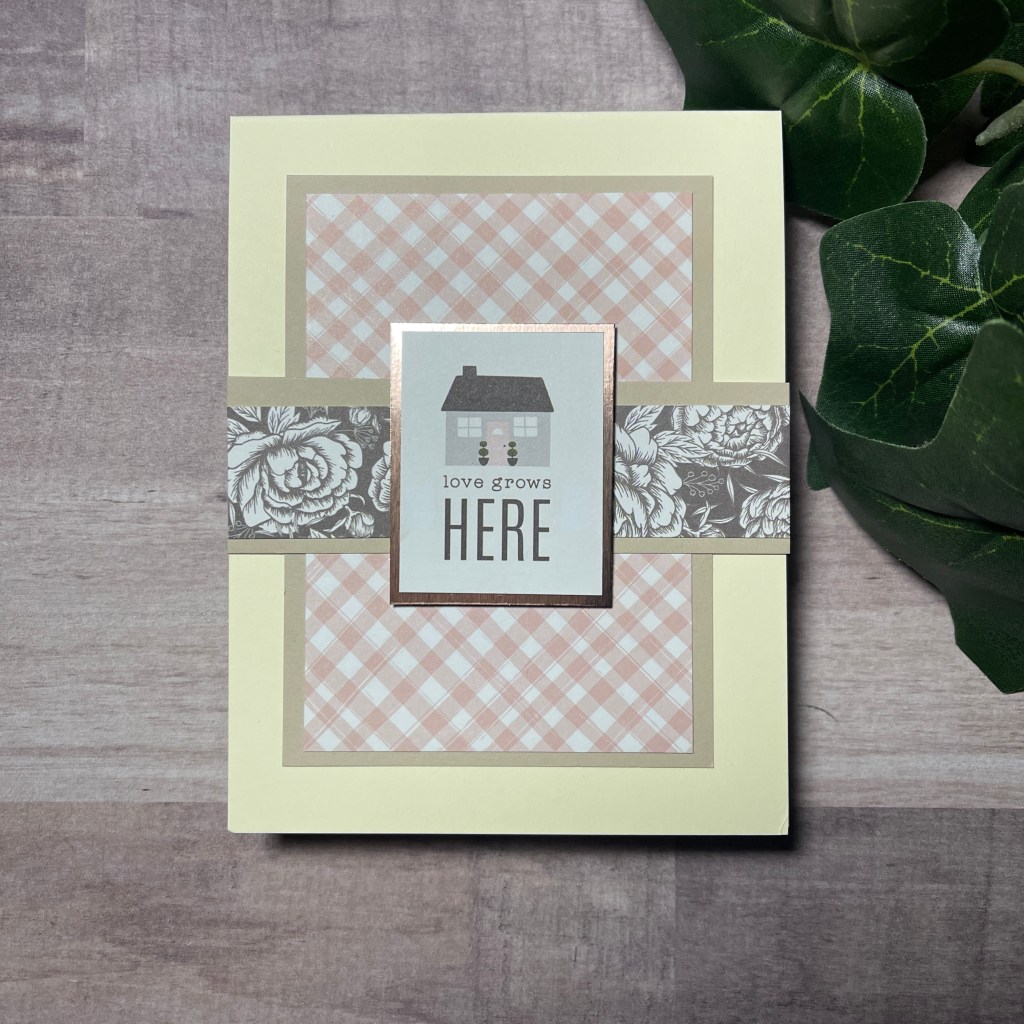
Hello my fellow creators. This month’s Sheetload has arrived and it is so adorable. It is a fun-fold/mini slimline edition and I had so much fun using it to make some pretty in pink cards.
I altered the sketch just a bit by adding an additional mat to the card. I used some paper I had in my stash by Recollections. I also decided to use some sentiments in Spanish for these cards. I am Mexican-American and most of my family is bilingual so I thought it would be nice to have some cards with Spanish sentiments. The stamp set I used is “Sentimientos En Español” by Scrapbook.com and was perfect for these beauties.
Visit my YouTube Channel to see how I made these cards and while you are there, maybe even subscribe. Thanks for spending some of your time with me. As always, have a fun, safe and creative day!!
Please Subscribe to one of my social media accounts to see my latest creations (Instagram, Facebook, YouTube)!
Hello my fellow creators. This week I am posting a video updating what has happened over the past year. This was my first year as a YouTube creator and there have been many changes in my life.
When I began my YouTube channel last year, I had been notified that I was being laid off from my position and my last day would be June 30, 2020. That is when I decided to begin my crafty venture. Well, a few weeks before what was to be my last day, I was notified that the lay off had been rescinded and I would continue to work for the same employer. What a relief that was. Since I had already begun my YouTube channel, I thought I would give it a year and see if it was something I enjoyed doing. Well, here I am, one year later and I am loving it. I am scheduled to retire in December 2022, so I want to keep doing my videos and keep creating so that when I do retire, I will have something fun to focus on.
As I share in my video this week, my family has grown in the last year and I am so lucky to now have eight adorable grandchildren. They are the loves of my life and they make my heart happy when they ask, “grandma, can we make a card with you?” Another change in my personal life is that my husband and I have recently become empty nesters and we are loving the alone time we have together. Since we are empty nesters, we have some extra rooms in the house and I have moved my craft room to one of those empty rooms. It is connected to the living room, so even when I am in there crafting, I am close to my husband (while he watches tv or reads a book). The new craft room is still a work in progress as I am sorting through all my crafty stashes to see what I should keep and what I should donate.
COVID was hard on everyone. Working from home and being so isolated has taught me just how much I appreciate the human interaction of day to day life. My family was fortunate in that we all continued to work throughout the pandemic. We all stayed relatively healthy. While I did get COVID and got quite ill, I did not get sick enough to need hospitalization, for which I am grateful. I still have long term effects of COVID, but I am learning to live with them, for now.
I have learned so much in the last year. I have learned how to edit videos, add audio and sound effects, create thumbnails and so much more. I am so very grateful to my subscribers for following along as I learn and create. I am blessed to have such supportive husband, family, friends and subscribers. I can’t begin to express how fortunate I am.
Visit my YouTube Channel and maybe even subscribe. Thanks for spending some of your time with me. As always, have a fun, safe and creative day!!
I have linked to my top two videos over the last year below. Please Subscribe to one of my social media accounts to see my latest creations (Instagram, Facebook, YouTube)!
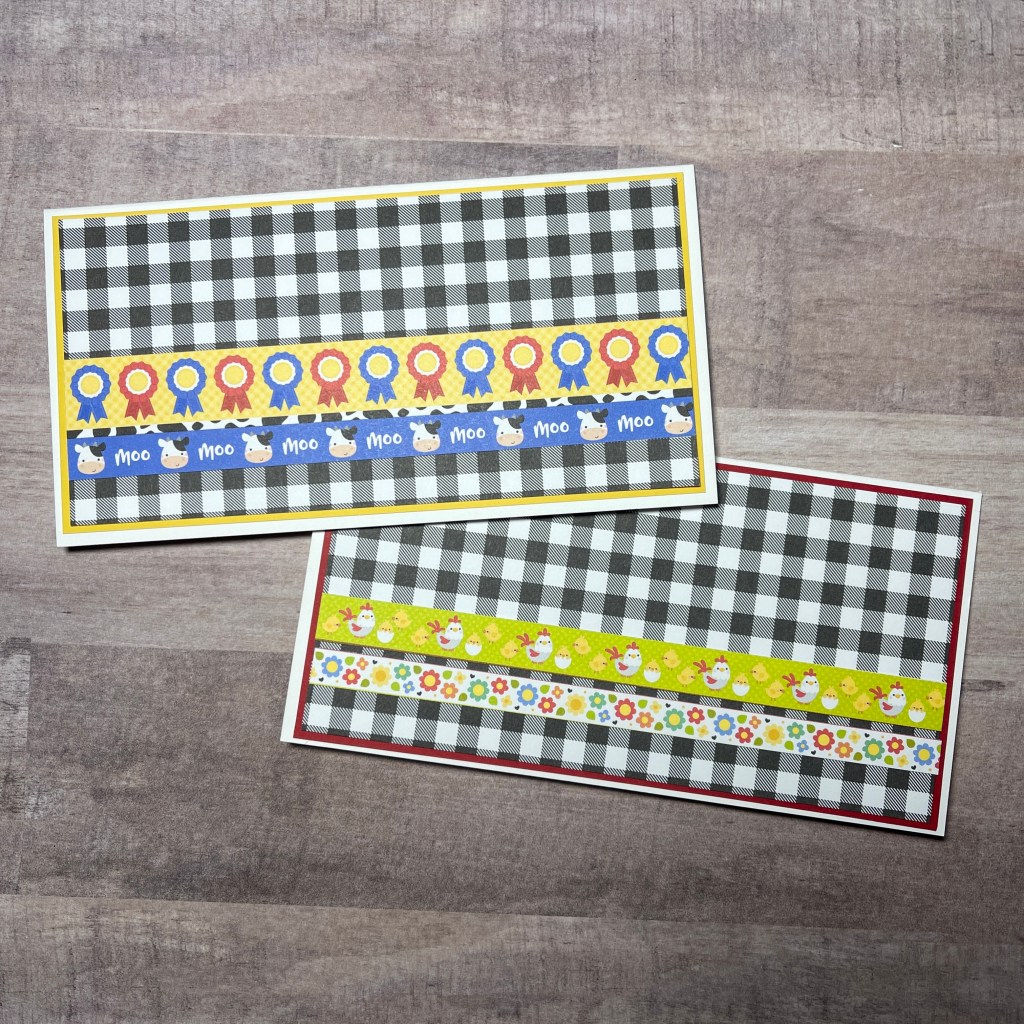
Hello my fellow creators. This week I decided to smash another 6×6 paper pad. I realized I only had four sheets of the “Down on the Farm” paper pad by Doodlebug so I made some mini-slimline cards.
I cut each of three sheets up in half (3’x6″) to use as the front of the mini-slimline cards. I then cut up the last sheet of patterned paper, which was filled with borders. I used these borders to add to the card fronts. I thought about using some of the cut-aparts, but decided to leave the cards blank so that I could use them in the future for whatever I chose by adding a specific sentiment at the time I need them. These cards came together quite quickly and came out soooo cute, but what did I expect…it is Doodlebug Paper 😉
Visit my YouTube Channel and maybe even subscribe. Thanks for spending some of your time with me. As always, have a fun, safe and creative day!!
Please Subscribe to one of my social media accounts to see my latest creations (Instagram, Facebook, YouTube)!
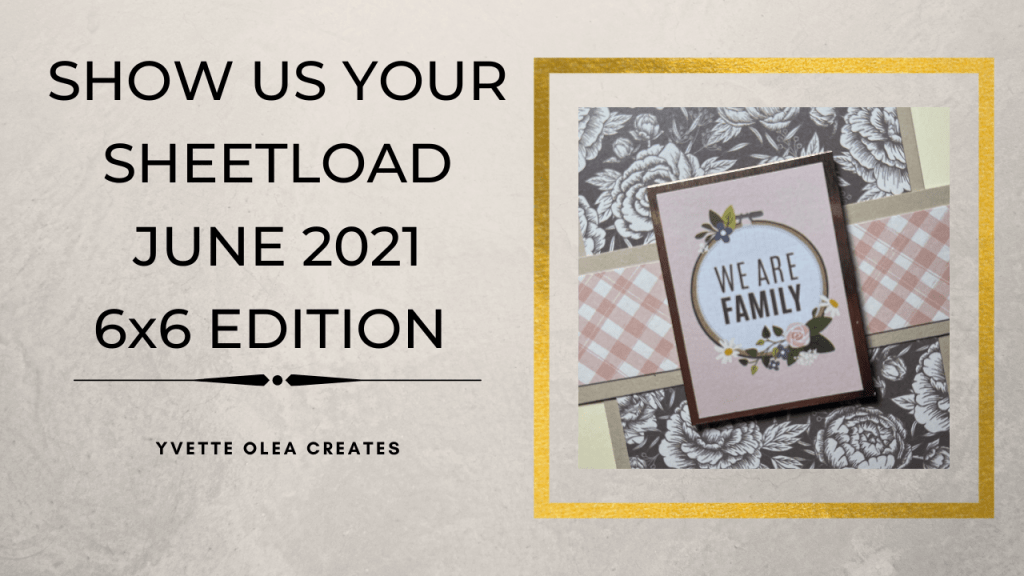
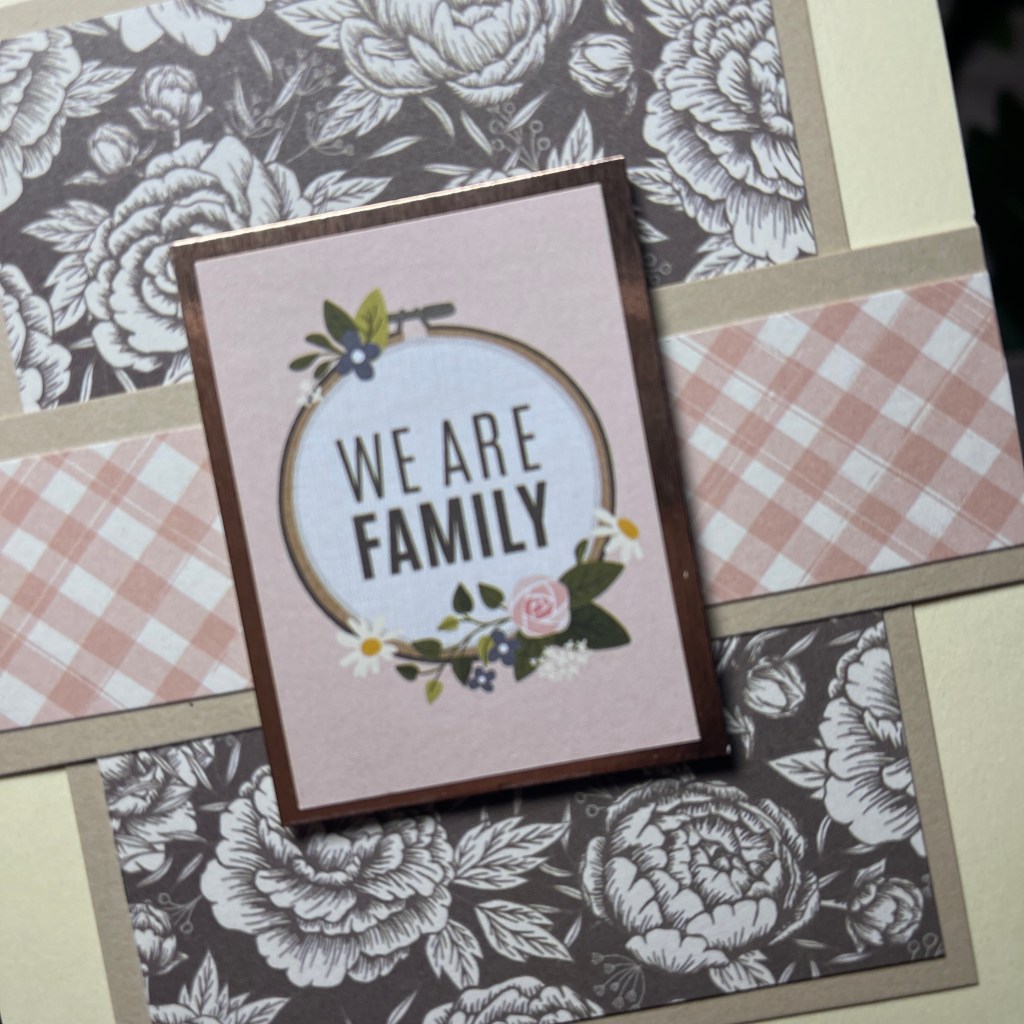
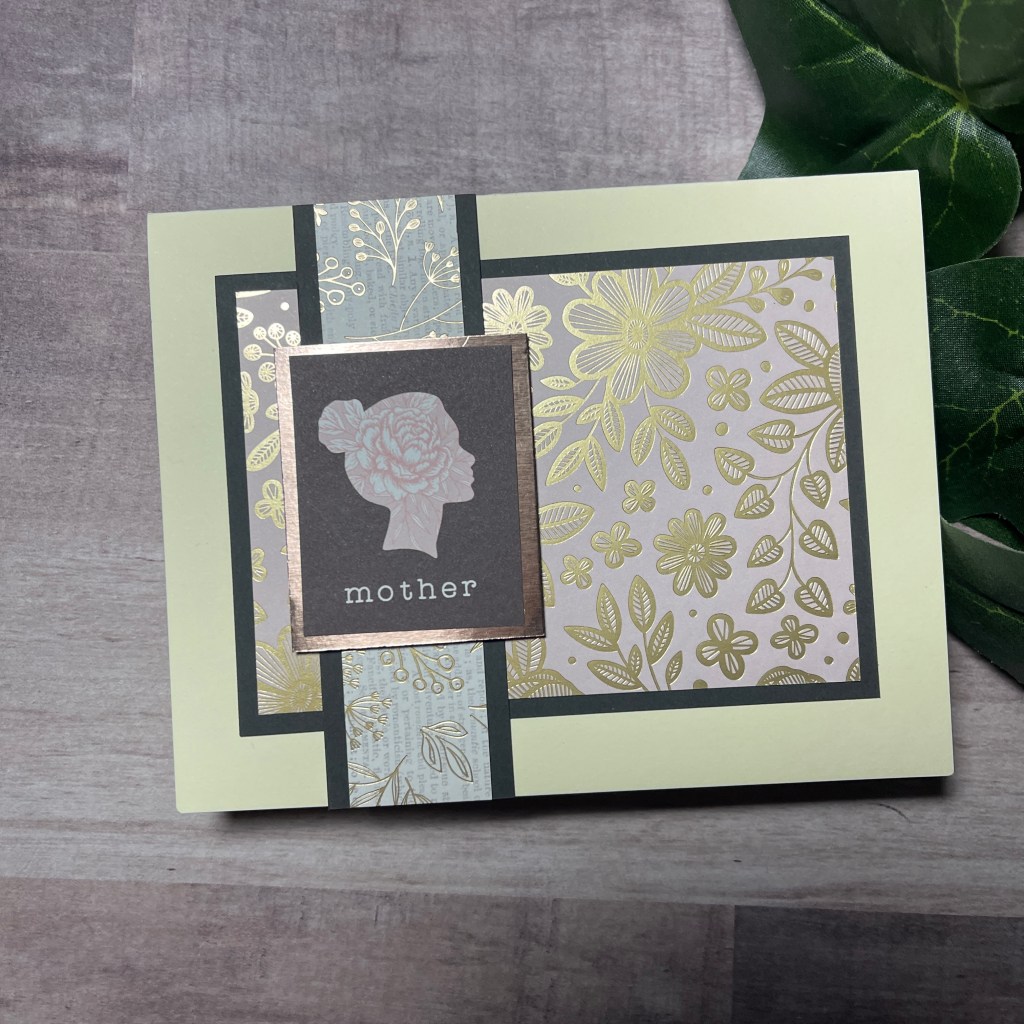
Hello my fellow creators. I had some fun creating cards using the June Sheetload of Cards Sketch by Call Me Crafty Al. Her monthly sketches are available for download to her subscribers so go over to her channel (https://www.youtube.com/callmecraftyal) and subscribe for some creative fun.
I chose to use up more paper from my endless stash of 6×6 paper and made some lovely cards using only that paper and some cut-aparts from the same paper. I did pull in some shimmery rose gold paper to back the cut-apart sentiments and popped them up using some foam tape. I always enjoy using Alicia’s monthly sketch as it helps me to make several cards without having to think about where to start. I hope you enjoy this week’s video as much as I enjoyed making it.
Visit my YouTube Channel and maybe even subscribe. Thanks for spending some of your time with me. As always, have a fun, safe and creative day!!
Please Subscribe to one of my social media accounts to see my latest creations (Instagram, Facebook, YouTube)!
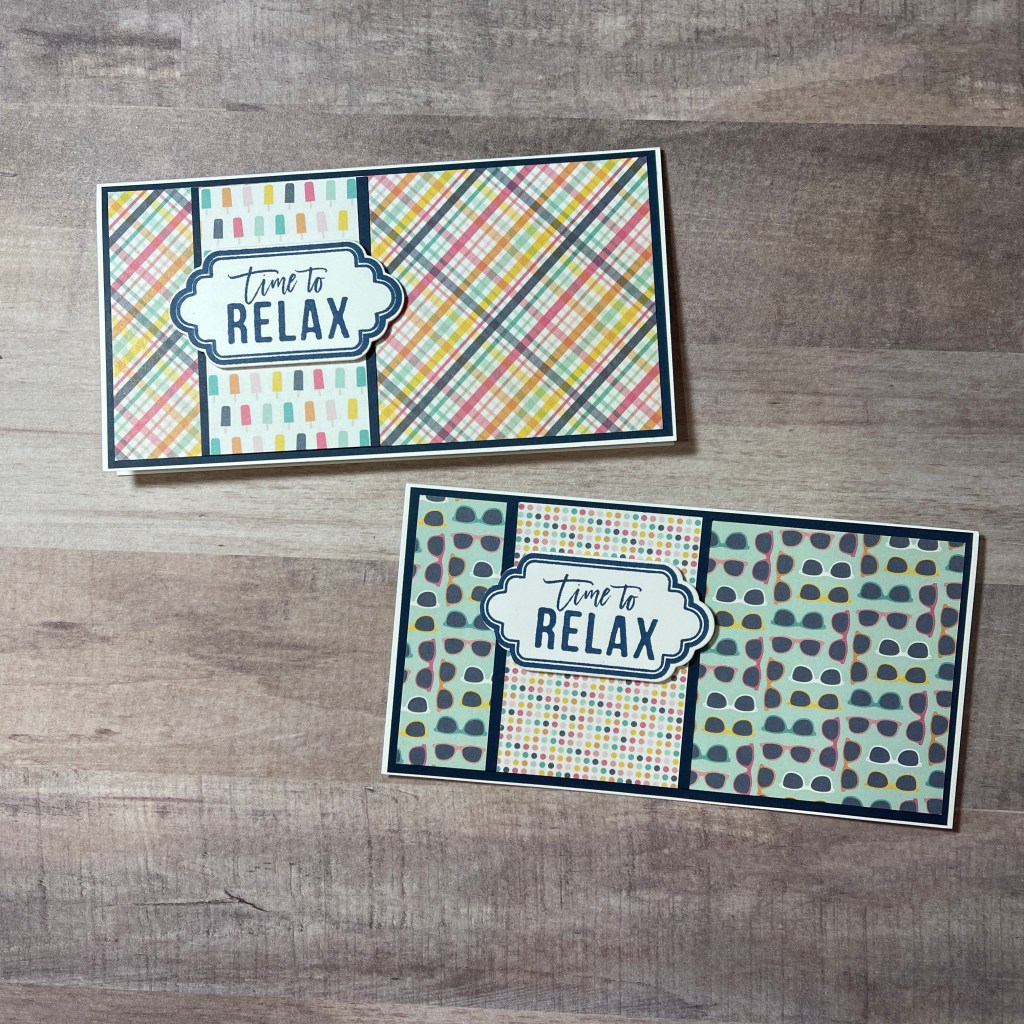
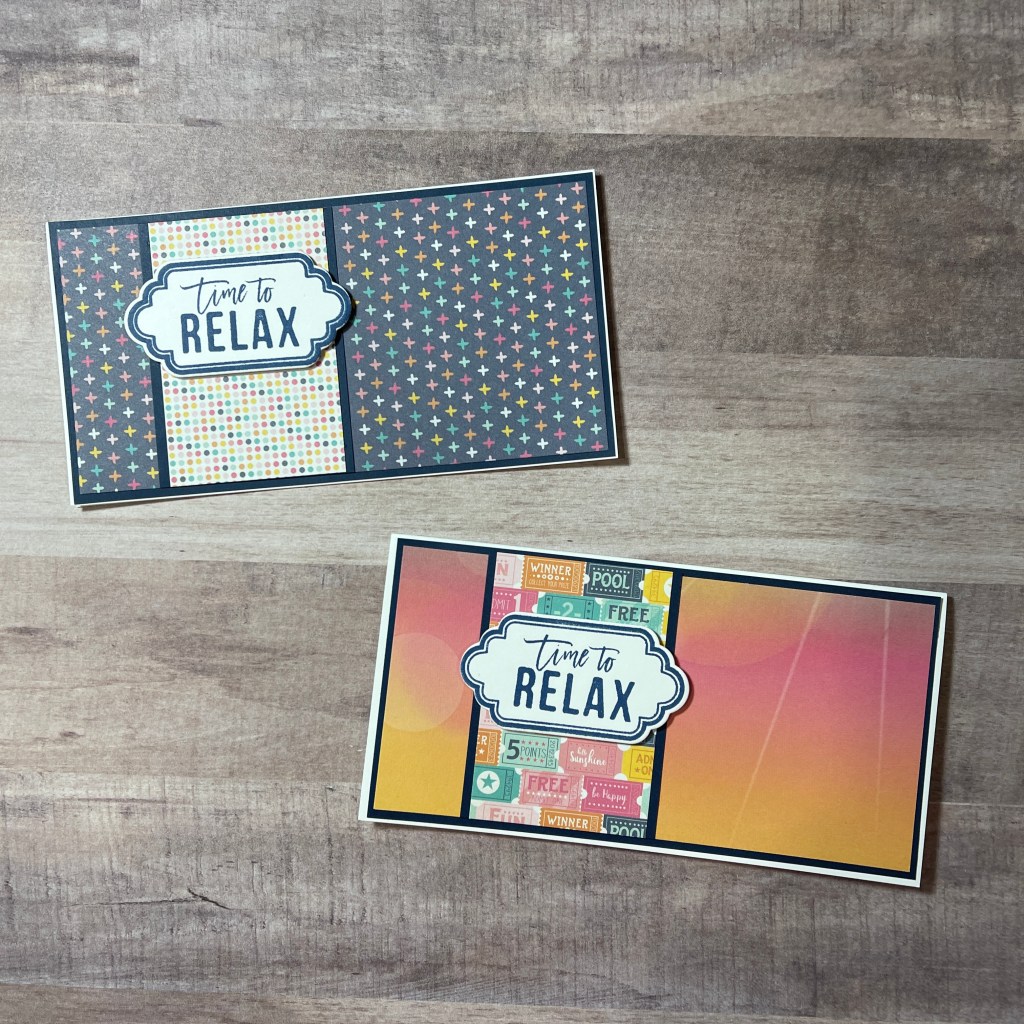
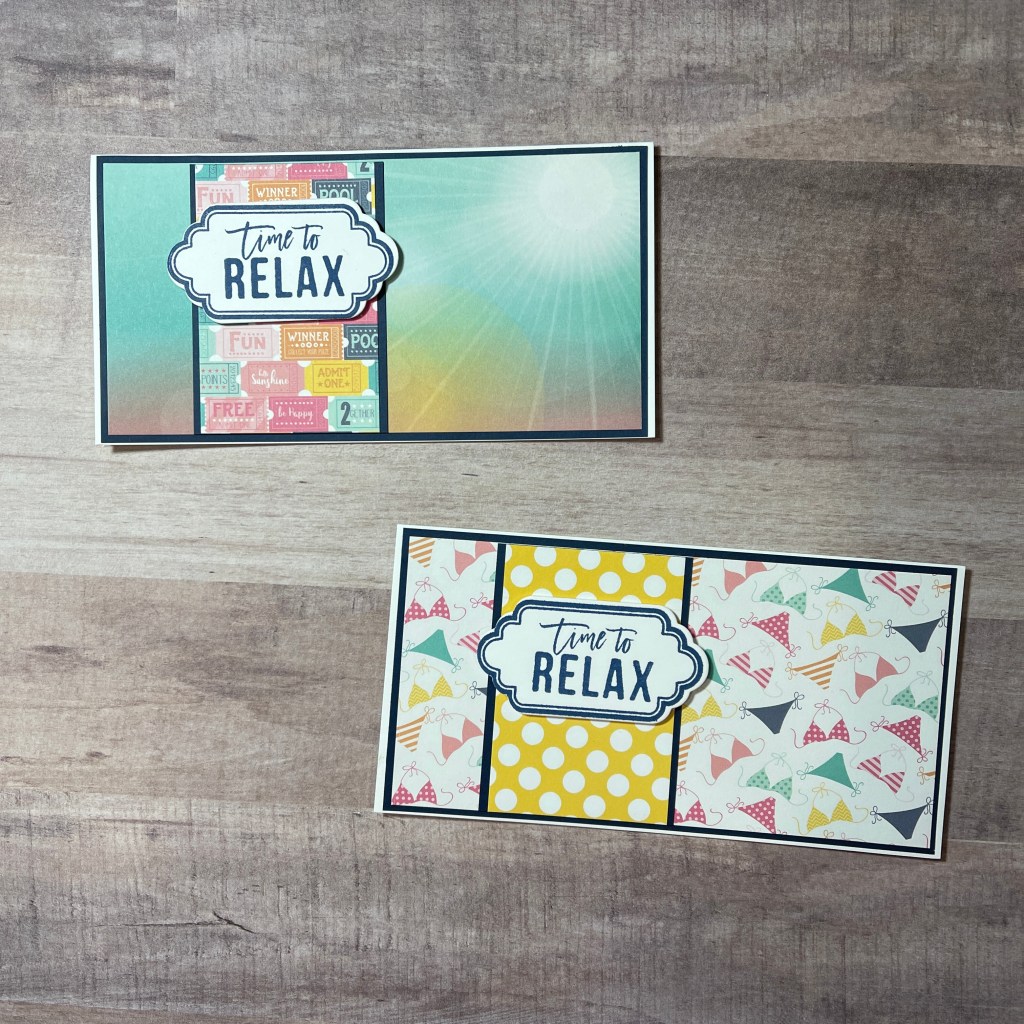
Hello my fellow creators. More of this week was spent sorting, purging and organizing supplies in my new craft space. I did manage to play for a bit. I used Echo Park’s “Summer Dreams” 6×6 paper pad to make some mini slimline cards. The whole process took me an hour, which is pretty good considering I made eleven cards. I began by selecting the papers I wanted to use from the paper pad. Once I chose the papers, it was as easy as cutting each 6×6 paper in half to fit on a mini slimline card. I cut the card bases from some Recollections white card stock. I cut them at 6.5′ by 6.25″ then scored at 3.25″ along the 6.5″ side. I then chose a few more patterned papers from the pad to add to the first patterned paper. I thought this would break it up a bit and give it more interest. I layered the smaller pieces of patterned paper (1.5″ x 3″) onto some navy card stock I had in my stash (probably from Michael’s). I then added this to the larger piece of patterned paper. I layered this onto some more navy card stock and then added it to the card base, leaving a small white border. I cut out some labels using the “Just for You Labels” set by Lawn Fawn. I stamped the border onto the label using some Gina K “In the Navy” ink. I then added the sentiment to the label using the “Sea You Soon” stamp set by Simon Says Stamp. Once I had all the sentiment labels ready, I added some foam tape to them and adhered them to the cards. I’m really liking the mini slimline cards and am sure I will be making more. I hope you enjoy this week’s video as much as I enjoyed making it.
Visit my YouTube Channel and maybe even subscribe. Thanks for spending some of your time with me. As always, have a fun, safe and creative day!!
Please Subscribe to one of my social media accounts to see my latest creations (Instagram, Facebook, YouTube)!
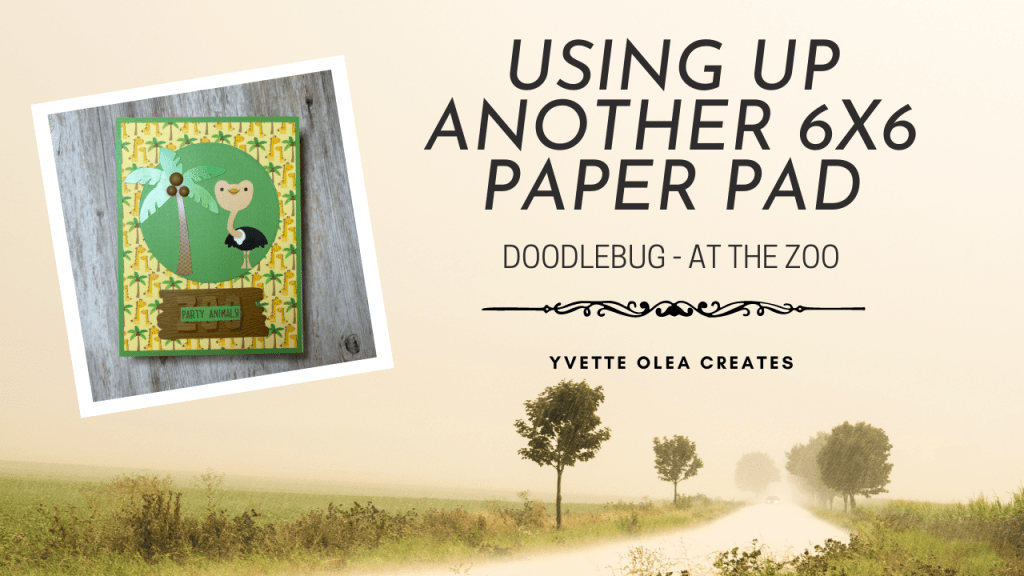
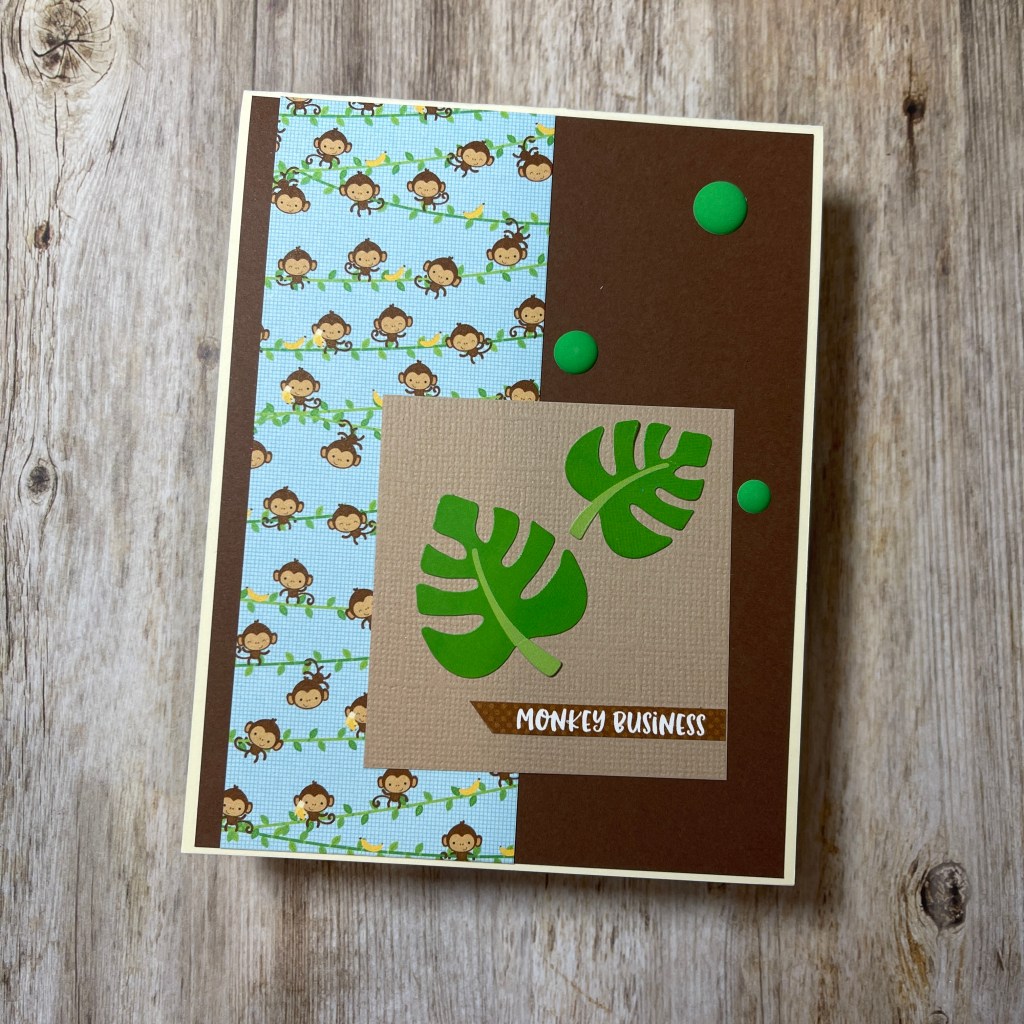
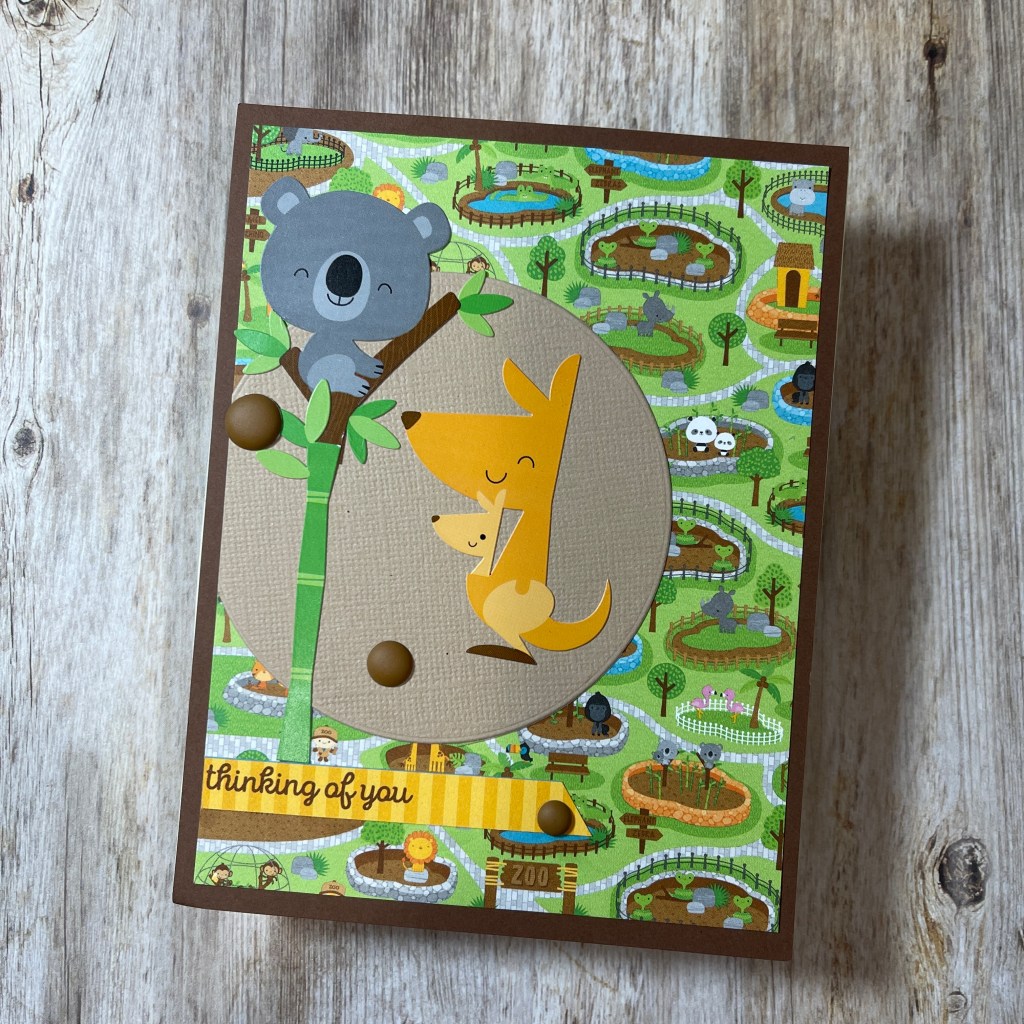
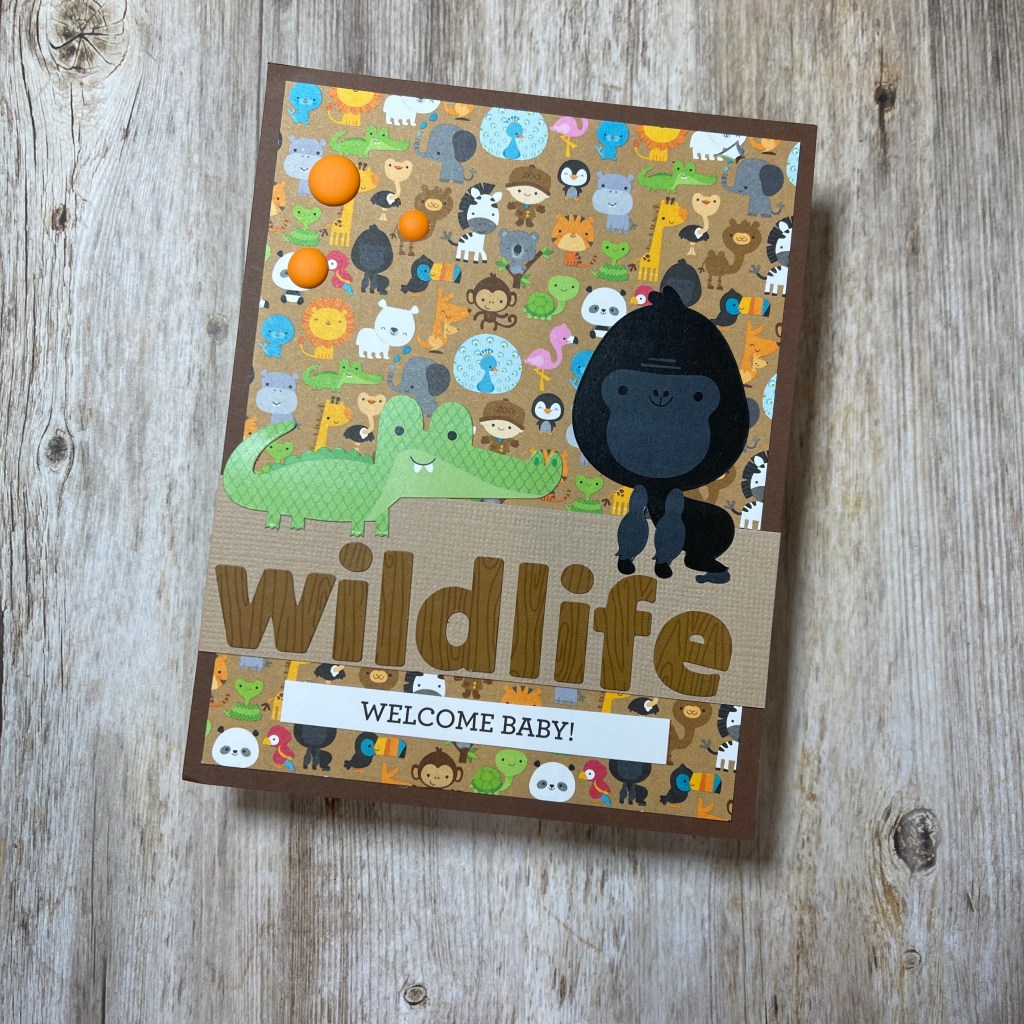
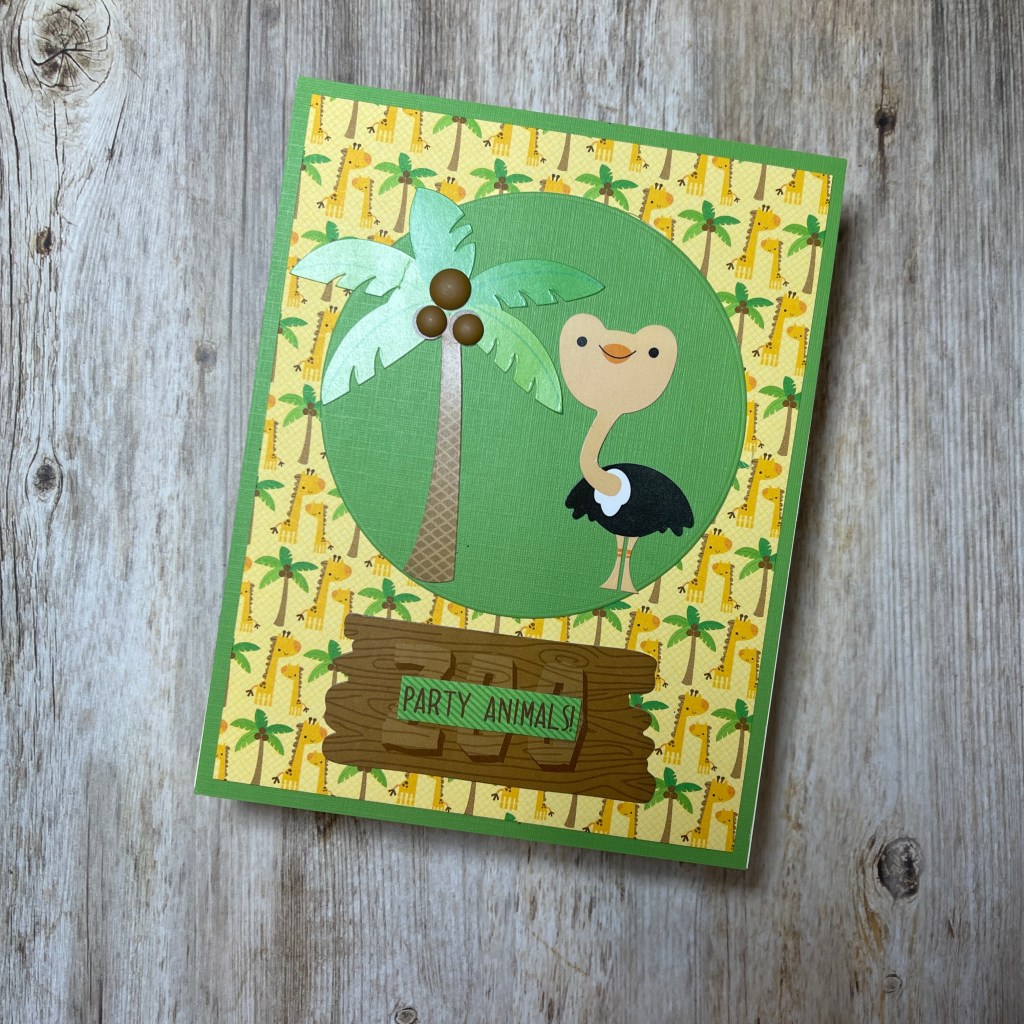
Hello my fellow creators. I spend a good part of this week sorting through my crafty stash to prepare for moving into my new craft space. This week a made 11 cards using what I had left from the “At the Zoo” paper pad by Doodlebug. I used only the patterned paper, coordinating stickers and some colored card stock from my stash. I hoped to get nine cards from what I had left, but to my surprise, I was able to make 11 cute cards. It has been a busy week and I am trying to get a ton of work done around my house, so this week’s post is short and sweet.
Visit my YouTube Channel and maybe even subscribe. Thanks for spending some of your time with me. Have a fun, safe and creative day!!
Please Subscribe to one of my social media accounts to see my latest creations (Instagram, Facebook, YouTube)!
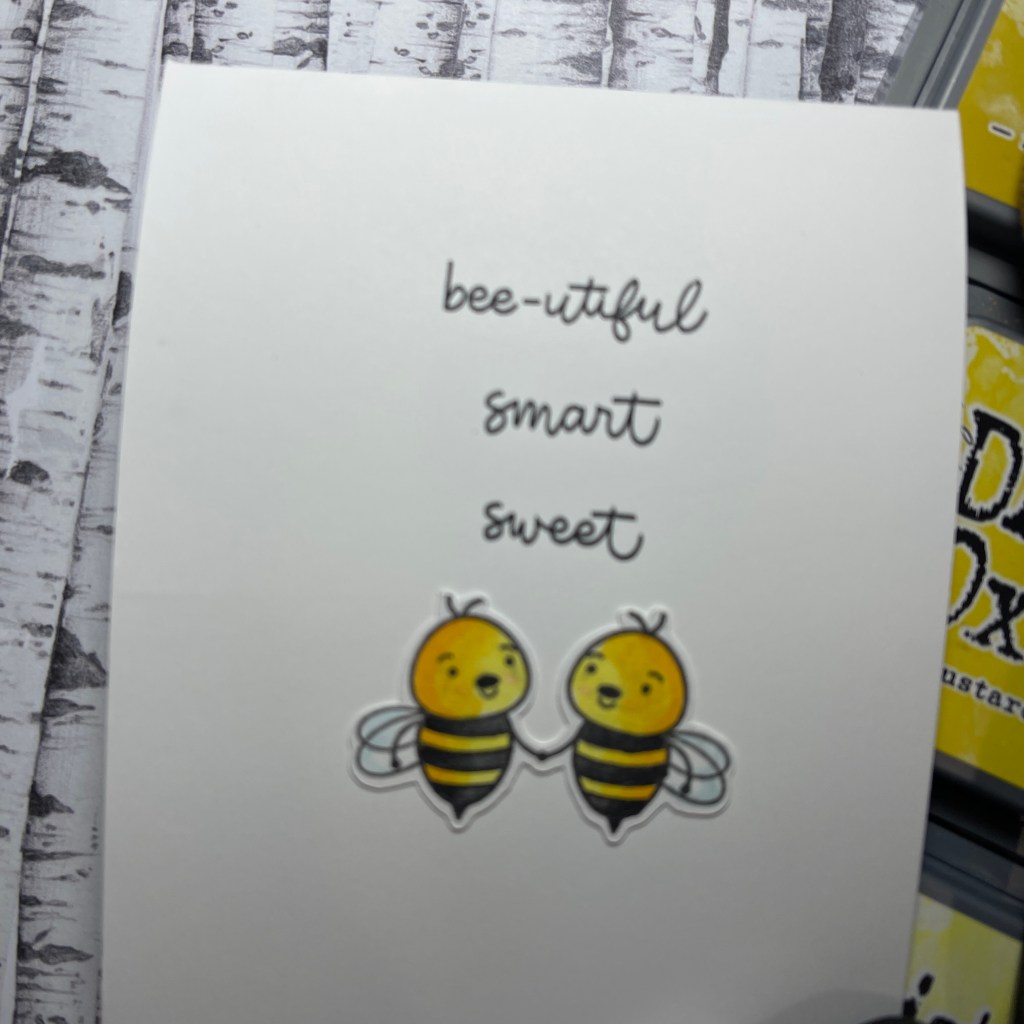
Hello my fellow creators. Well, it is official…we are now empty nesters. I finally have an extra room that I can dedicate to my crafts. I have been working in a shared space, but should have my new space set up by summer. I just have to wait for IKEA to get a few items back in stock. This week a made a card using a honeycomb stencil from my stash. I ink blended over the stencil using Distress Oxide inks (Squeezed Lemonade, Fossilized Amber and Mustard Seed). After I finished ink blending, I used the “Bee Yourself” stamp set by Simon Says Stamp to stamp an image and sentiment on the ink blended panel using my Mini Misti. I then stamped a few of the bee images and colored them using my Copic markers (Y17, Y15, Y13, T9, T7, T3, RV06, RV04 & B000) I am not the best at Copic coloring, but I have fun and, for me, that is the point of coloring. After I finished coloring the images, I cut them out using my Brother Scan ‘N Cut. This machine has saved me from having to fussy cut when I don’t have the matching dies for a given stamp set. This truly was a terrific investment. I cut the panel using the large rectangle die from the Master Layouts 1 set by Gina K Designs and layered in on some black card stock. I then popped up one of the bee images using some foam tape from my stash. At this point I though the sentiment needed to stand out more, so I colored in the “BEE” part of the sentiment using my Memento Dual Marker. Of course, I felt like the card could use some sparkle so I added some Spectrum Noir Black Sparkle pen to the sentiment and some Spectrum Noir Sparkle pen to the hearts. I then added the panel to a card base. The final step was to finish the inside of the card. I stamped a sentiment from the stamp set (actually three) and added a bee image to the inside of the card. And now the card is done. I know exactly who I will be sending this card to!
Visit my YouTube Channel and maybe even subscribe. Thanks for spending some of your time with me. Have a fun, safe and creative day!!
Please Subscribe to one of my social media accounts to see my latest creations (Instagram, Facebook, YouTube)!